How to Use the IrisCamera (v. 2.0) Program
Operation
Before starting the program, the camera should be powered on.
1. Start Program
To start the program, double-click the new desktop icon for the "Iris Camera" program.
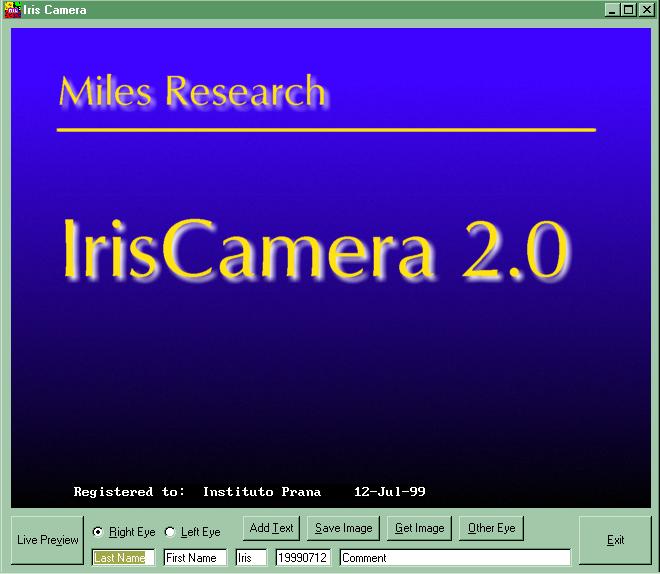
A blue title screen shows up (this is the 'firstpic.tif' file) along with the program owner's name and today's date. On the bottom are five text boxes: LastName, FirstName, Iris, Date, and Comment. This program is designed to be run in 800x600 or 1024x768 screen mode. If you are in 1024x768 screen mode, you may want to change the window frame size to a smaller size by clicking the Restore button (second from top right) or by right clicking the upper left and selecting Restore. This will free up part of the desktop for use with a wordprocessor or other program.
Startup Screen for IrisCamera v.2.0:
2. Enter Client's Name and Other Data
Initially, the LastName data is highlighted, and the first step is to type the last name of the first client to be photographed. The text that is typed will replace the initial text.
Then press the Tab button once to move into the next text box, which is FirstName. Again this is highlighted initially and by simply typing the first name, the name will replace the initial text.
The other three boxes can be left alone with the standard values. If you are photographing something that is not an iris (such as a scleral region) then you can type it here (e.g. Sclera) and it will show up on the image annotation. It is recommended that you type the sector along with the word sclera, such as Sclera12, Sclera03, Sclera06, Sclera09. This convention uses the hour of the clock to designate the sector, but you can use whatever convention you prefer, such as Upr, Med, Lwr, Lat (for Upper, Medial, Lower, Lateral) or S, N, I, T (for Superior, Nasal, Inferior, Temporal). Notice that these two conventions are different from the first one, since for example, the 3:00 sector will be lateral for the left eye and medial for the right eye.
If the Comment box is left as it is (with "Comment" as the text) or is blank, it will not show up on the annotation, but if you change it to something else, the new text will show on the iris picture as the fourth line. If you want to remove the comment text later so nothing prints on the picture, delete all text or type in "Comment" and no comment text will show up.
To move through these input boxes press Tab. Later in reviewing existing pictures, you can type in a partial spec of the pics and the "Get Image" button will bring up the qualifying picture files.
3. Prepare to Photograph the Iris
Normally, you will photograph the Right Iris first, this program is set up to start off with "Right Eye" selected. After typing in the client's first and last name, you can proceed to position their eye in front of the camera and adjust the height of the table and chinrest so they are comfortable. It is a good idea to ask them to hold their left hand over their left eye. This will stabilize the position of the right eye (which is being photographed) and make it easier to get a good picture rapidly.
Once the client is positioned approximately in the right place, click the "Live Preview" button. This is equivalent to clicking anywhere on the image area, and if you tend to move the mouse/trackball around, this will give a larger target. The picture-taking button on the camera support is normally wired in parallel with the left mouse button, and is equivalent to clicking the left mouse button. Initially the Control button at the lower left corner says "Live Preview" (the underlined 'v' means that Alt+v is a keyboard shortcut which is equivalent to clicking the button).
After the "Live Preview" control button is clicked, the image screen shows a live camera image, and the label on the button changes to "Capture." This caption indicates that the next time the button is clicked (during the live video image preview), the frame will be frozen, "capturing" the image into memory.
4. Take the Picture
When the image is in focus and properly illuminated, take the picture by clicking the "Capture" button, the image area or by pressing the picture-taking button (while the mouse/trackball pointer is positioned over the image screen or "Capture" button). It is good practice to reduce the light level or point the camera away from the client's eye after the picture has been taken.
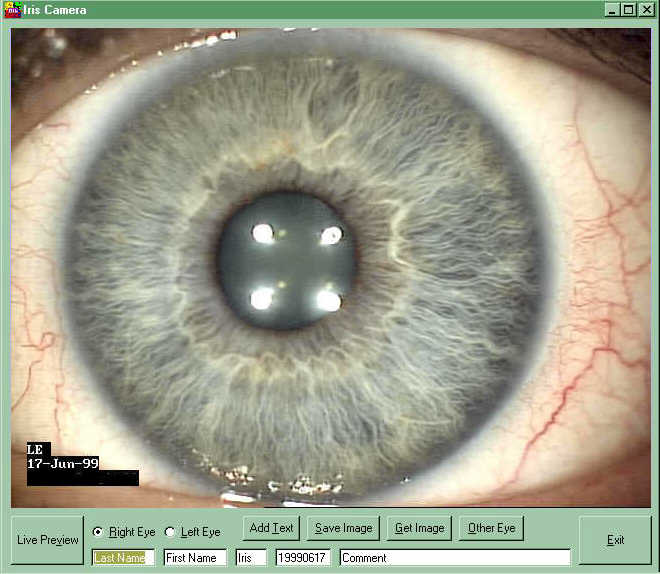
At this point you check the picture to see if it is good enough, and if so you will save the captured image by clicking on the Save Image button. This saves the image with the annotation. If you do not want the annotation, click the "Remove Text" button. If you or want to change it, type in the text for annotation at this time, and then click the "Add Text" button. This should be done before saving the picture.
Captured Image Screen for IrisCamera v.2.0:
5. Save the Picture
Make sure to save the picture at this time.
The next time the button (or image screen) is clicked, the image screen goes to the live preview mode and is ready to take another picture. At this time, click the "Left Eye" button (it will not switch automatically), and position the camera in front of the client's left iris.
6. Take Picture of Left Eye
Repeat steps 3, 4 and 5 with the Left Eye. Note: At this time, click the "Left Eye" button (it will not switch automatically). If you forget, you can still change to "Left Eye" at any time after taking the picture and before saving, then click "Remove Text", then click "Add Text", then "Save Image".
7. Review Iris Pictures
To review the iris pictures that were just taken, click the "Other Eye" button. Each time it is clicked the opposite side iris picture pops up.
To review iris pictures taken at a previous time, type in the First Name, Last Name, and Date. The Iris box is normally left as it is. If the date is today and the pictures you want to review are from today, you can leave the Date box as it is. If you want to select from a list of pictures on any date, clear the Date box out so nothing is in it. Next click the "Get Image" and a FileOpen box will pop up showing a list of all the picture files that are for the specified name. If a name and date is given, then only one file will match and this will be loaded into the image frame. If you want to review sclera pictures, clear out the Iris Box so that nothing is typed in and all pictures matching the specified parameters are shown. If you want to review pictures from a certain year, just type the year in the Date box. Always follow the YYYYMMDD convention (Year, Month, Day) to avoid Year2000 problems. The only Year2000 problem here would be with the sorting of the picture files, however this program is designed for use of 4-digit years as a general rule. If the Date text is less than 8 characters, a match will be made on the given numbers, and all matching files will be displayed in the FileOpen box.
To view the opposite iris, click the "Other Eye" button.
When you are all done, Exit the Iris Camera program by clicking the Exit button.
For more information, contact Jon Miles at:
Miles Research
15045 Eastvale Rd.
Poway, CA 92064-2303
Tel: 619-679-8505 / Fax: 619-679-4955
Email: info@milesresearch.com
Website: www.milesresearch.com

